How to build an iPhone app without a Mac, using AI and cloud builds
Xcode only runs on macOS, but building an iPhone app no longer has to. With AI builders and cloud build services, you can design, compile, sign, test and publish from a Windows or Linux computer.
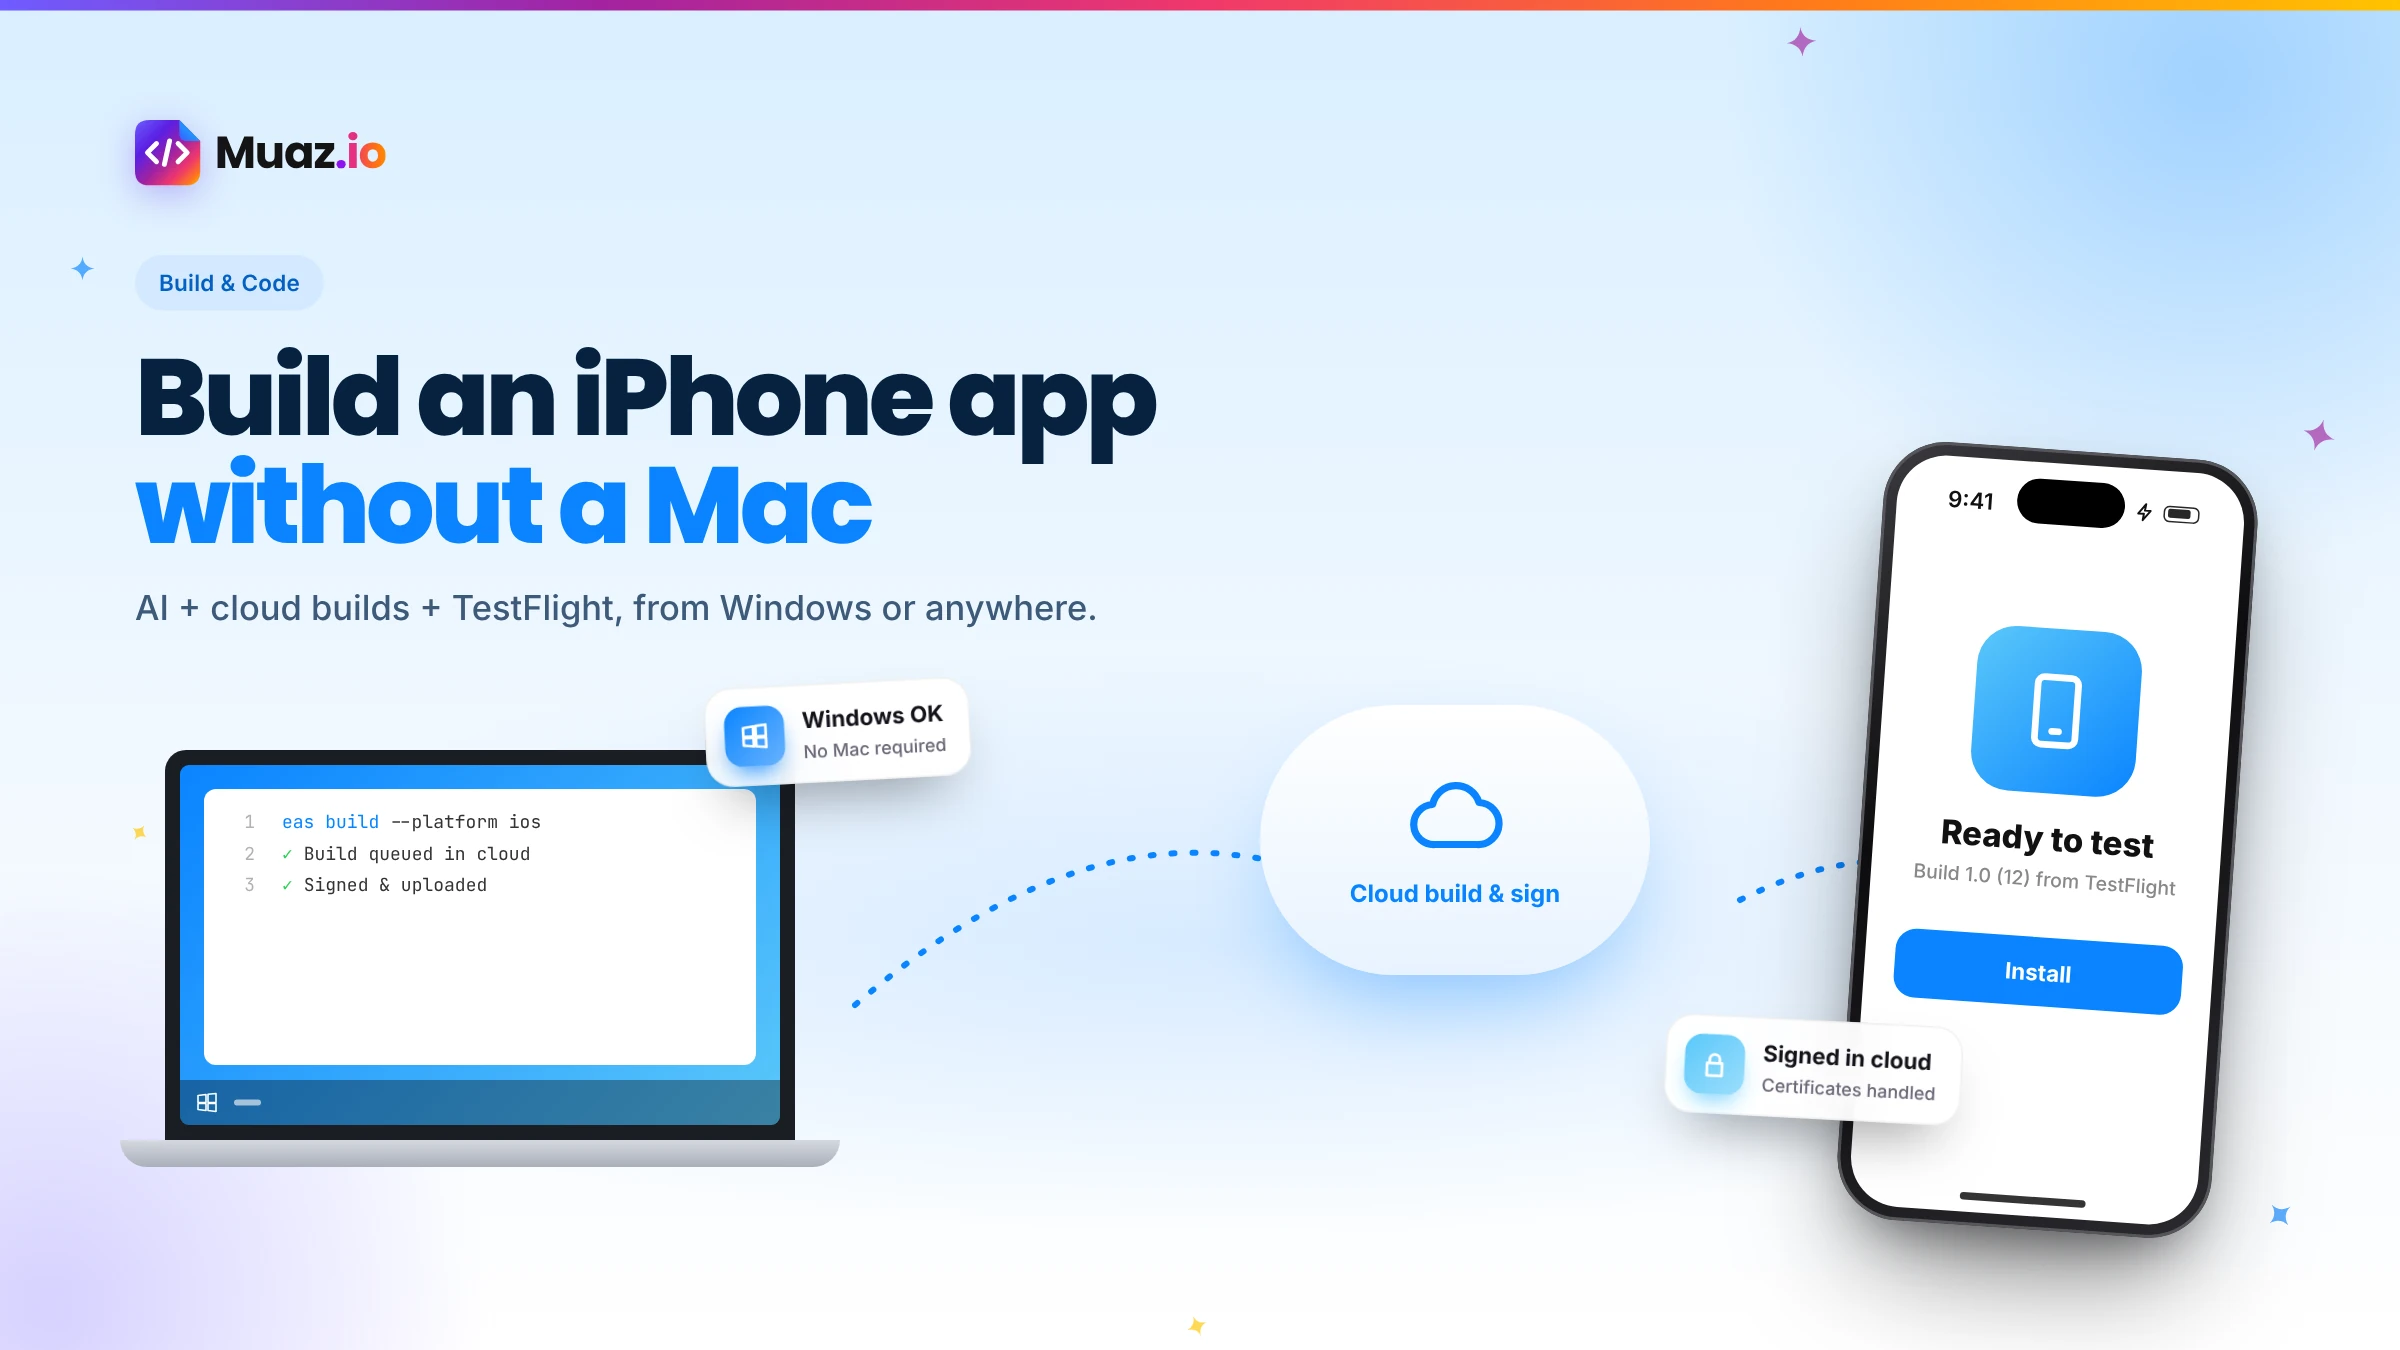
Yes. Xcode only runs on macOS, but cloud build services such as Expo's EAS Build compile and sign iOS apps on hosted Macs. You write or generate the app on any computer, and the cloud produces the binary for TestFlight and the App Store.
- Yes. To install on real devices through TestFlight and publish on the App Store, you need an Apple Developer Program membership, which costs $99 per year.
- The best way is on a real iPhone through TestFlight, which installs builds from the cloud.
- Cloud services can submit for you. Expo's EAS Submit uploads builds to App Store Connect from the command line on any operating system, and AI builders like Muaz.io handle the upload with your approval.
- Some tasks are easier on a Mac, such as debugging certain native crashes, using Instruments for performance profiling or running the iOS simulator locally.
For years, the rule was simple: if you wanted to build an iPhone app, you needed a Mac. Apple's development tool, Xcode, only runs on macOS, and Xcode was the only way to compile, sign and upload an app. Plenty of would-be app makers stopped right there, because buying a Mac just to try an idea felt like a big bet.
That rule no longer holds. In 2026, cloud services compile and sign iOS apps on hosted Macs, AI builders generate the app from a description or a website and App Store Connect runs in any browser. You can go from idea to App Store from a Windows laptop, a Linux workstation or even a Chromebook, as long as you have an Apple Developer account and, ideally, an iPhone to test on.
This guide explains how it works, what you need, the step-by-step process and the few situations where a Mac is still helpful.
Why you used to need a Mac
Three parts of iOS development were tied to macOS:
- Compiling. Turning code into an iPhone app requires Apple's toolchain in Xcode.
- Signing. Every iOS app must be signed with a certificate and provisioning profile, traditionally managed in Xcode.
- Uploading. Builds were uploaded to App Store Connect through Xcode or Apple's Transporter app, both macOS-only.
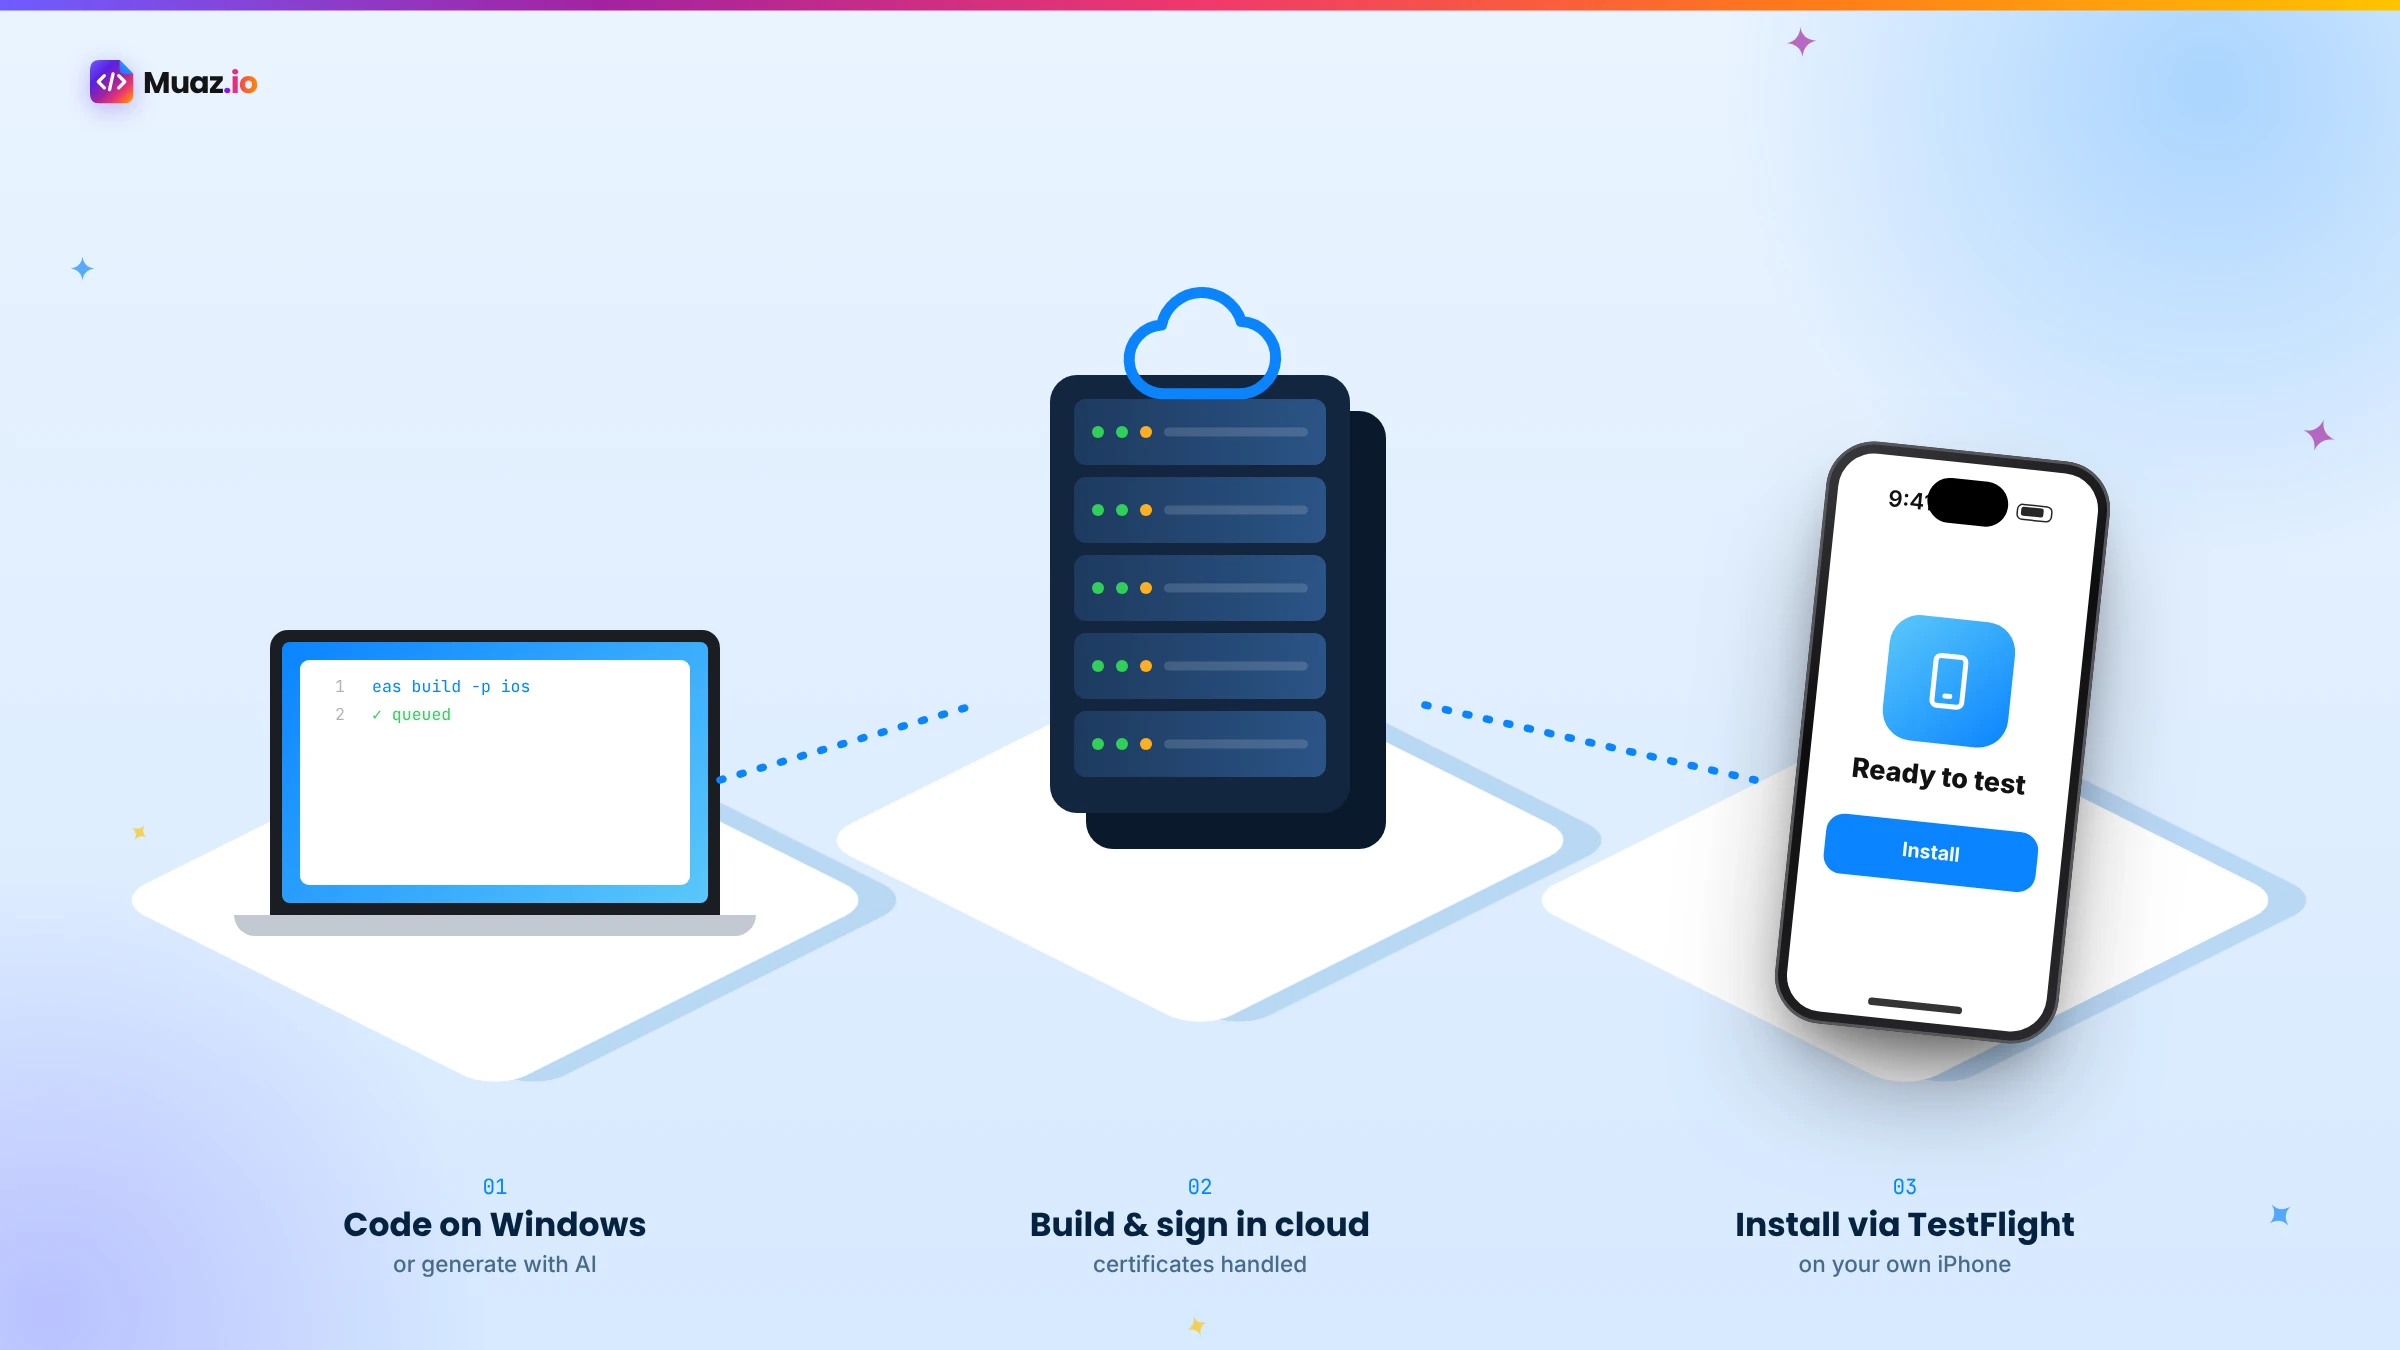
Cloud build services solve all three by running those macOS steps on their own machines. You send your project, they return a signed app or upload it for you.
What you need, and what you do not
You need:
- An Apple Developer Program membership, $99 per year, to sign apps for real devices and publish.
- A computer with a modern web browser. Windows, Linux or macOS all work.
- Ideally an iPhone, to test your app the way users will experience it.
- A way to build the app: an AI builder like Muaz.io, or a framework like React Native with Expo or Capacitor with a cloud build service.
You do not need:
- A Mac.
- Xcode.
- Transporter.
- To manage certificates by hand, if your build service handles them.
See your app before you pay for anything
Paste your website or describe your idea. Muaz.io researches your competitors and designs an original app you can try on your iPhone.
The two main routes
Route 1: an AI builder that builds in the cloud
With an AI app builder like Muaz.io, the whole process happens in your browser. You paste a website or describe your idea, review competitor research and a brief, choose a design on a live iPhone preview and approve the build. The app is generated as a React Native and Expo project and compiled in the cloud. A TestFlight build arrives on your iPhone. When you are ready, the App Store Studio prepares your listing and uploads the release with your approval.
This route suits founders, businesses and agencies who want the app built for them, without touching code or tools.
Route 2: write the code yourself and use cloud builds
If you are a developer, you can build the app with React Native and Expo on Windows or Linux and use EAS Build to compile it. EAS Build runs the macOS steps on Expo's servers and can manage your signing credentials. Then EAS Submit uploads the build to App Store Connect. For web apps wrapped with Capacitor, cloud services such as those described in Capawesome's guide play the same role.
This route suits developers and teams who want full control of the code. Our guide to building with AI and exporting the React Native source code explains how the two routes can work together.
Step by step: from idea to App Store without a Mac
Step 1: Enrol in the Apple Developer Program
Sign up with your Apple ID as an individual or an organisation. Organisation accounts need extra verification, which Capawesome's guide notes can involve a D-U-N-S number and take about a week, so start early. Once enrolled, you can use App Store Connect in your browser.
Step 2: Create or generate your app
With Muaz.io, paste your website or describe the app, run research, approve the brief and choose a design. If you are coding, create an Expo project on your computer and build your screens; you can preview on your own iPhone with Expo's tools while you work.
Step 3: Set up signing in the cloud
iOS apps need a distribution certificate and a provisioning profile. Cloud services can create and store these for you after you sign in with your Apple Developer account, so you never handle the files directly. Muaz.io manages signing through credentials you authorise and can revoke at any time.
Step 4: Build in the cloud
Start a build. The service compiles your app on a hosted Mac, signs it and returns a binary. Builds typically take minutes, depending on the project and the queue.
Step 5: Test on your iPhone with TestFlight
Upload the build to App Store Connect and install it through TestFlight on your iPhone. Internal testers on your team can install immediately; external testers need a short beta review the first time. Use the app for real: sign up, complete the main task, try it offline, receive a notification.
Step 6: Prepare your App Store listing
In App Store Connect, add your icon, screenshots in the required sizes, name, subtitle, keywords, description, privacy labels and privacy policy URL, all from the browser. Muaz.io's App Store Studio generates these assets from your real app and runs a readiness checklist.
Step 7: Submit for review
Submit the build for App Review in App Store Connect, or let your build service submit it. Apple usually reviews within a day or two. Once approved, release it immediately or on a date you choose.
Testing without a Mac: your options
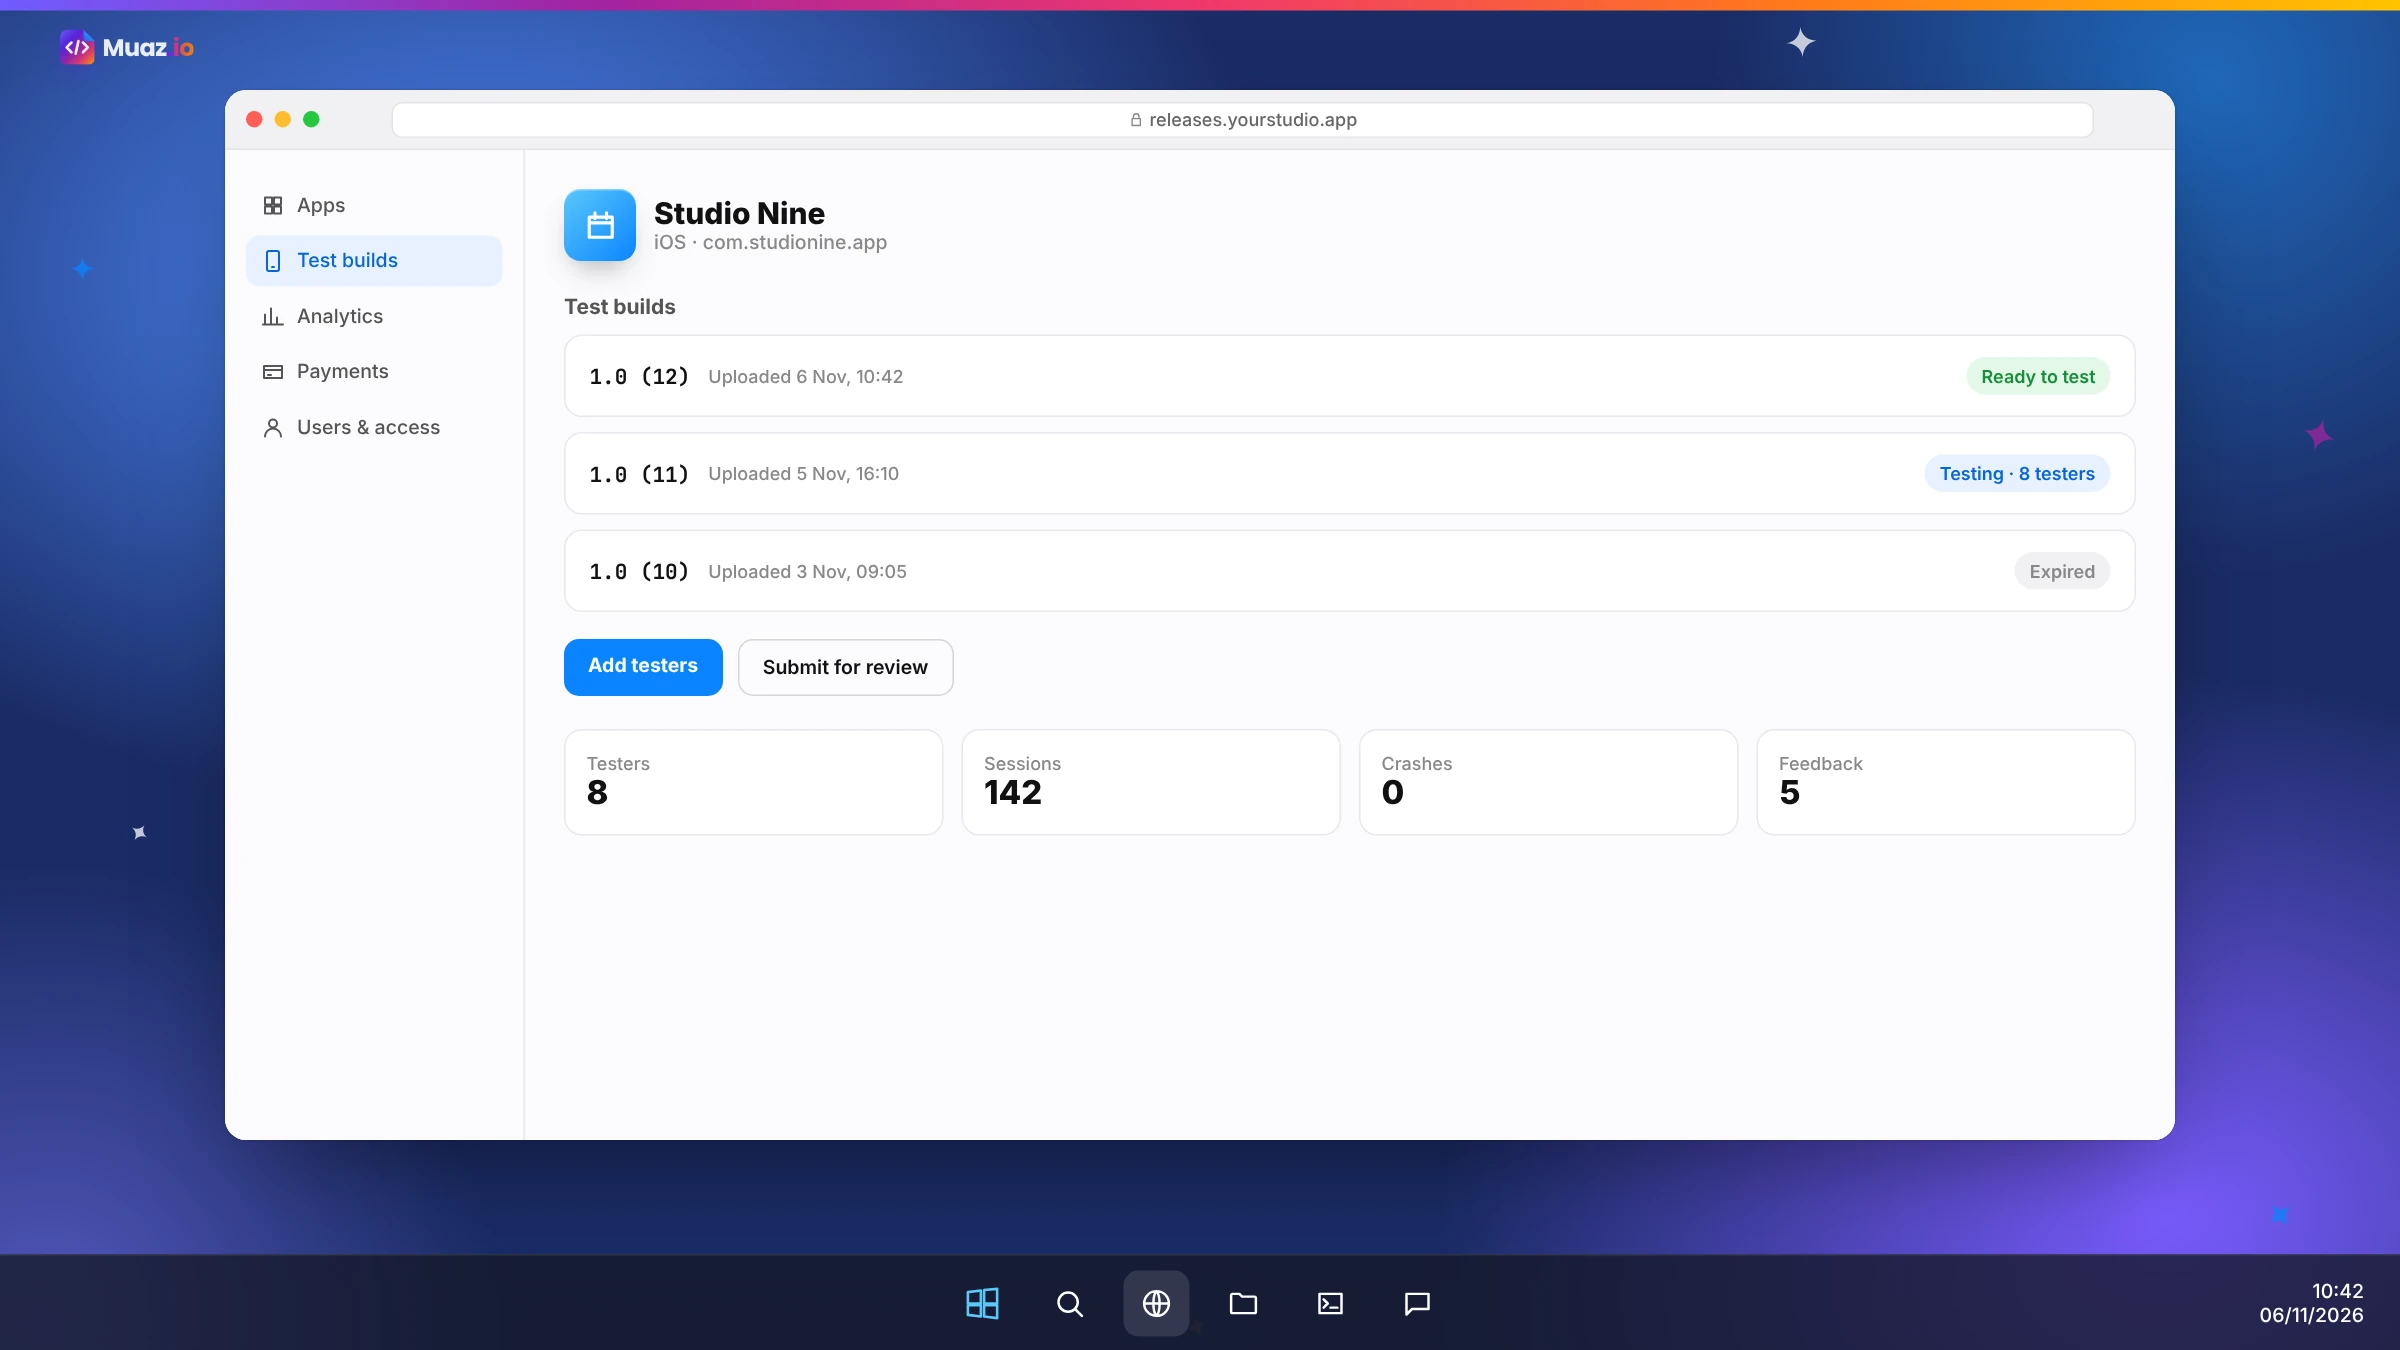
A real iPhone with TestFlight. The gold standard. You see real performance, real notifications and real gestures.
Development builds on your iPhone. With Expo, you can run a development build on your phone and see changes as you code.
Cloud simulators. Expo has documented a preview of hosted iOS simulators for select partners, as described in its working without a Mac guide. It is promising but limited-access, so do not plan around it yet.
Live preview in the browser. Muaz.io shows your app on a live iPhone preview with a real lock screen, notifications and Dynamic Island while you design, so you can judge most decisions before a build exists.
When a Mac still helps
To be honest about the limits: a Mac is still useful for some advanced tasks.
- Deep native debugging, such as investigating a crash inside a native module.
- Performance profiling with Apple's Instruments.
- Running the iOS simulator locally for fast iteration across many device sizes.
- Writing custom Swift modules or app extensions with unusual requirements.
For most apps built with React Native and Expo, or with an AI builder, you will never need these. If you do, a cloud Mac rental for a few hours or a teammate with a Mac usually solves it.
Start free. Approve every step.
- Research 5, 10 or 20 competitors
- Original design, never copied
- Test on your iPhone today
- You own the code
Common problems and how to fix them
| Problem | Likely cause | Fix |
|---|---|---|
| Build fails on signing | Missing or expired certificate or profile | Let the build service regenerate credentials |
| TestFlight build stuck in processing | Apple is processing the binary | Wait; processing can take a while |
| App crashes on launch | Missing native module or configuration | Check build logs; rebuild with the correct config |
| Push notifications do not arrive | Push capability or key not configured | Enable push and upload the key through your build service |
| "Missing compliance" warning | Export compliance question not answered | Answer the encryption question in App Store Connect |
| Rejected under 4.2 | App looks like a website | Add native screens and features |
Costs of building without a Mac
| Item | Cost |
|---|---|
| Apple Developer Program | $99 per year |
| Cloud builds | Free tiers available; paid plans for more builds |
| A Mac | Not required |
| An iPhone for testing | Recommended; any recent model works |
| AI builder | Muaz.io research and design free; builds on paid plans |
Compared with buying a Mac just to start, the cloud route lowers the barrier to trying an idea dramatically. For a wider look at costs, read how much it costs to convert a website into an iOS app.
Who this approach is perfect for
Founders on Windows laptops who want to test an idea without new hardware.
Agencies whose teams use mixed operating systems and want one cloud pipeline for every client. See Muaz.io for agencies.
Web developers moving into mobile with React or Next.js. Our guide to converting a Next.js or React app into a native iOS app covers the code side.
Teams that built web apps with AI tools and now want an iPhone version. See converting a Lovable app into a native iOS app.
Enterprises that standardise on Windows and want builds to run through a controlled cloud pipeline with approvals.
Free: No-Mac iOS Launch Checklist
Every account, certificate, build and App Store step you can do from Windows or Linux, in order.
We’ll email the resource and a few practical tips. Unsubscribe in one click. We never sell your data.
Our recommendation
Do not let not having a Mac stop you. If you want the app built for you, use an AI builder that builds in the cloud and tests on your iPhone through TestFlight. If you write code, use Expo with EAS Build and EAS Submit. Either way, enrol in the Apple Developer Program early, test on a real iPhone and prepare your App Store listing carefully.
Paste your website or idea into the Muaz.io builder above to see your app on a live iPhone preview in minutes. When you are ready, your first TestFlight build will arrive without you ever opening Xcode.
A realistic first week, no Mac involved
Monday. Enrol in the Apple Developer Program. Paste your website or idea into Muaz.io and run competitor research while you wait for enrolment to complete.
Tuesday. Approve the brief and pick a design concept on the live iPhone preview. Ask for a few changes by voice.
Wednesday. Connect your data source or API. The first cloud build runs and arrives in TestFlight on your iPhone.
Thursday. Use the app for real. Invite five testers. Collect feedback and apply changes; the next build arrives within the hour.
Friday. Review the App Store listing generated from your real app: icon, screenshots, metadata and privacy labels. Complete the readiness checklist.
By the end of the week you have a tested app and a listing ready to submit, built entirely from a browser and an iPhone.
Security of cloud builds
Handing signing credentials to a cloud service is a reasonable worry. Reputable services store credentials encrypted and use them only to sign your builds. You can revoke access from your Apple Developer account at any time, and you can use App Store Connect API keys with limited roles rather than your personal Apple ID. Muaz.io stores credentials server-side, uses them only for actions you approve and records every upload and submission in an audit log.
Working as a team without Macs
Teams benefit from the cloud approach even more than individuals. Builds run on shared infrastructure, so nobody's laptop is a bottleneck. Everyone sees the same build history and logs. Testers receive builds through TestFlight automatically. And release approvals can be assigned to the right person, regardless of what computer they use. For agencies and enterprises, combining cloud builds with role-based approvals gives you a release process that is both fast and controlled.
Understanding certificates without the jargon
Signing is the part of iOS development that confuses most newcomers, so here is a plain-language version. Apple needs to know that an app really comes from you and has not been tampered with. To prove it, every app is signed with a certificate tied to your developer account, like a digital signature. A provisioning profile then says where that signed app is allowed to run: on specific test devices, through TestFlight or on the App Store. Traditionally you created these in Xcode or the developer portal and installed them on your Mac. Cloud build services do the same thing on your behalf after you sign in, store the files securely and reuse them for every build. When a certificate expires, they renew it. You rarely need to think about it again.
Notifications, widgets and other capabilities
Some iOS features require capabilities enabled on your app identifier, such as push notifications, Sign in with Apple, App Groups for widgets or Apple Pay merchant IDs. On a Mac you would tick these in Xcode. In the cloud workflow, your build configuration declares them, and the build service enables them on Apple's side when it creates your provisioning profile. For push notifications, you also upload an authentication key from your developer account so your server, or Expo's push service, can send messages. AI builders like Muaz.io configure these automatically when you add a feature to your app.
How fast is the feedback loop?
The main trade-off of working without a Mac used to be speed: every change needed a cloud build. That is far less true now. During development, an Expo development build on your iPhone reloads JavaScript changes in seconds, without a new build. Cloud builds are only needed when native configuration changes or when you want a TestFlight release. With Muaz.io, design changes appear instantly on the live iPhone preview in your browser, and you only wait for a build when you want to hold the real thing.
Choosing the right iPhone for testing
You do not need the latest iPhone to test well. In fact, testing on an older or smaller model is valuable, because it shows you how the app performs on slower hardware and tighter screens. If you can, test on two devices: a recent model and an older one with a smaller display. Check that text is readable at larger sizes, that buttons are easy to reach with one thumb and that nothing hides behind the Dynamic Island or the home indicator. Ask testers with different phones to report their model when they send feedback; TestFlight includes device details automatically.
Updating your app after launch, still without a Mac
Releasing updates follows the same path as your first release. Make your changes, start a cloud build, test the new version in TestFlight and submit it for review. Expo's over-the-air updates can deliver JavaScript fixes to existing users quickly, within Apple's rules, while changes to native configuration or new capabilities need a full build and review. Write release notes for each update, refresh screenshots when you ship a visible new feature and keep a steady rhythm; apps that update regularly tend to earn better ratings and more trust.
Mistakes to avoid
Waiting until the end to enrol. Organisation enrolment can take days; start first.
Testing only in a browser preview. Always install a real build on an iPhone before submitting.
Sharing your Apple ID password. Use team roles and API keys instead.
Forgetting the privacy details. App Store Connect asks for privacy labels and a policy URL for every app.
Skipping review notes. If your app needs a login, give the reviewer a demo account and clear instructions.
A short history of the Mac requirement
When the App Store opened in 2008, building an iPhone app meant a Mac, Xcode and Objective-C. Over the following decade, cross-platform frameworks such as React Native and Flutter let developers write apps in other languages, but compiling and signing still required macOS. The turning point was the rise of hosted build services that run Apple's tools on their own Macs and expose them through simple commands or web dashboards. Combined with App Store Connect moving fully into the browser, that broke the last hard dependency for most apps. AI builders added the final piece: you no longer even need to write the code yourself.
What reviewers see
Apple's reviewers do not know or care what computer you used. They install your build, use the app, read your metadata and check it against the App Review Guidelines. What matters is that the app works, feels complete, explains its permissions, respects privacy and offers real value. A cloud-built app that meets those standards is treated exactly like one built on a developer's MacBook.
Glossary
Xcode. Apple's integrated development environment for building iOS apps, available only on macOS.
Cloud build. A service that compiles and signs your app on hosted machines.
Provisioning profile. A file that allows a signed app to run on devices or be distributed.
TestFlight. Apple's beta testing service for installing test builds on iPhones.
EAS Build and EAS Submit. Expo's services for building apps in the cloud and submitting them to the stores.
App Store Connect. Apple's web portal for managing apps, builds, listings and testers.
Final checklist
Enrol in the Apple Developer Program. Choose your route: an AI builder or Expo with cloud builds. Let the build service manage signing. Build in the cloud and install through TestFlight. Test on a real iPhone, including offline and notifications. Prepare your listing in App Store Connect. Submit for review. Then plan your first update, which will follow exactly the same path.
What about Android?
If you build with React Native and Expo, the same cloud pipeline produces Android apps too, and Android development works natively on Windows and Linux. Google Play has its own requirements; Capawesome's guide notes, for example, that new personal developer accounts must complete closed testing with a group of testers for a couple of weeks before production access. Plan for that if you want both stores at launch.
Frequently asked by first-timers
People new to iOS development often ask whether apps built without a Mac are somehow lesser. They are not. The binary that reaches the App Store is compiled with Apple's own tools on a Mac, just one that lives in a data centre instead of on your desk. Reviewers and users cannot tell the difference. Others ask whether they can test on an iPad or an older iPhone; yes, TestFlight installs on any supported device registered to your testers. And many ask how often they can build; as often as your plan allows, which for most projects is far more than you will need.
The bottom line
The Mac requirement used to be the first wall between an idea and the App Store. Today it is optional. With an Apple Developer account, an iPhone and a cloud build pipeline, whether through an AI builder or Expo, you can design, build, test and publish from any computer. The hardest part left is the one that always mattered most: building something people want.

Monjur builds Muaz.io and incorporated MotionTrust Digital in September 2022, where he leads Amazon strategy across the client base. Eight years in e-commerce and marketplace marketing taught him how much growth a great mobile app unlocks, so every guide here is tested against the real product and current App Store rules before it goes live.
Questions about no mac required
Short, direct answers. Still curious? Ask in the builder; the assistant knows your project.
Can I make an iOS app without a Mac?
Yes. Xcode only runs on macOS, but cloud build services such as Expo's EAS Build compile and sign iOS apps on hosted Macs. You write or generate the app on any computer, and the cloud produces the binary for TestFlight and the App Store.
Do I still need an Apple Developer account?
Yes. To install on real devices through TestFlight and publish on the App Store, you need an Apple Developer Program membership, which costs $99 per year. App Store Connect, where you manage your app, works in any web browser.
How do I test an iPhone app without a Mac?
The best way is on a real iPhone through TestFlight, which installs builds from the cloud. Development builds with Expo also let you run your app on your own iPhone while you work. Expo has been previewing cloud simulators for select partners, but a real device is the most reliable test.
How do I upload my app to App Store Connect without Xcode or Transporter?
Cloud services can submit for you. Expo's EAS Submit uploads builds to App Store Connect from the command line on any operating system, and AI builders like Muaz.io handle the upload with your approval.
Are there limits to building without a Mac?
Some tasks are easier on a Mac, such as debugging certain native crashes, using Instruments for performance profiling or running the iOS simulator locally. For most apps built with React Native and Expo, cloud builds and real-device testing cover everything you need to ship.
Can AI build an iPhone app without a Mac?
Yes. With Muaz.io you describe the app or paste a website, review designs on a live iPhone preview in the browser and receive TestFlight builds produced in the cloud. You never need to open Xcode.
How much do cloud builds cost?
Expo offers a free tier with limited builds and paid plans for more. Capacitor cloud build services have their own plans; Capawesome lists plans from $19 per month in its guide. AI builders like Muaz.io include builds in their paid plans.
No Mac. No Xcode. Live on your iPhone.
Cloud builds sign your app and send it to TestFlight, so you test it on the phone already in your pocket.
Keep reading
 Build & Code15 min readHow to Build an iOS App with AI and Export the React Native Source Code
How AI app builders generate real React Native and Expo code, what a good exported project looks like, how to hand it to developers and why code ownership protects your app.
Monjur Hossain· SaaS & Web Apps15 min readHow to Convert a Next.js or React Web App into a Native iOS App
Three proven ways to turn a Next.js or React web app into an iPhone app: Capacitor with a static export, a React Native rebuild sharing your logic, or an AI-generated native app. Pros, cons and steps.
Monjur Hossain· Website to App15 min readHow to Convert a Lovable App into a Native iOS App: Complete Guide
Lovable builds web apps, not native apps. Here are the two real ways to get a Lovable project onto the App Store, wrapping it with Capacitor or rebuilding it natively, with steps, pitfalls and costs.
Monjur Hossain· SaaS & Web Apps18 min readHow to Convert a SaaS Website into a Native iOS App Using AI (2026 Guide)
A practical, step-by-step guide to turning your SaaS web app into a native iPhone app with AI: what to build, how to connect your API and login, push alerts, App Review and cost.
Monjur Hossain·Tools and products for the next step
- Screenshots, metadata and privacy labels
- TestFlight and submission checklist
- Paste a URL, get three original designs
- Free research before you pay
- 5, 10 or 20 App Store rivals analysed
- Review themes, pricing and gaps
Where our numbers come from
Third-party figures are estimates published by the sources below. Prices and rules change; check the source before you decide.
- Expo EAS Builddocs.expo.dev/build/introduction
- Expo EAS Submitdocs.expo.dev/submit/introduction
- Expo: working without a Macdocs.expo.dev/preview/simulators/how-to/work-without-a-mac
- Apple Developer Programdeveloper.apple.com/programs
- Apple TestFlightdeveloper.apple.com/testflight
- App Store Connect helpdeveloper.apple.com/help/app-store-connect
- Capawesome: cloud builds for Capacitor appscapawesome.io/blog/convert-lovable-app-to-mobile-app